Sunday, 25 March 2018
Photo Shoot at Home in the Kitchen
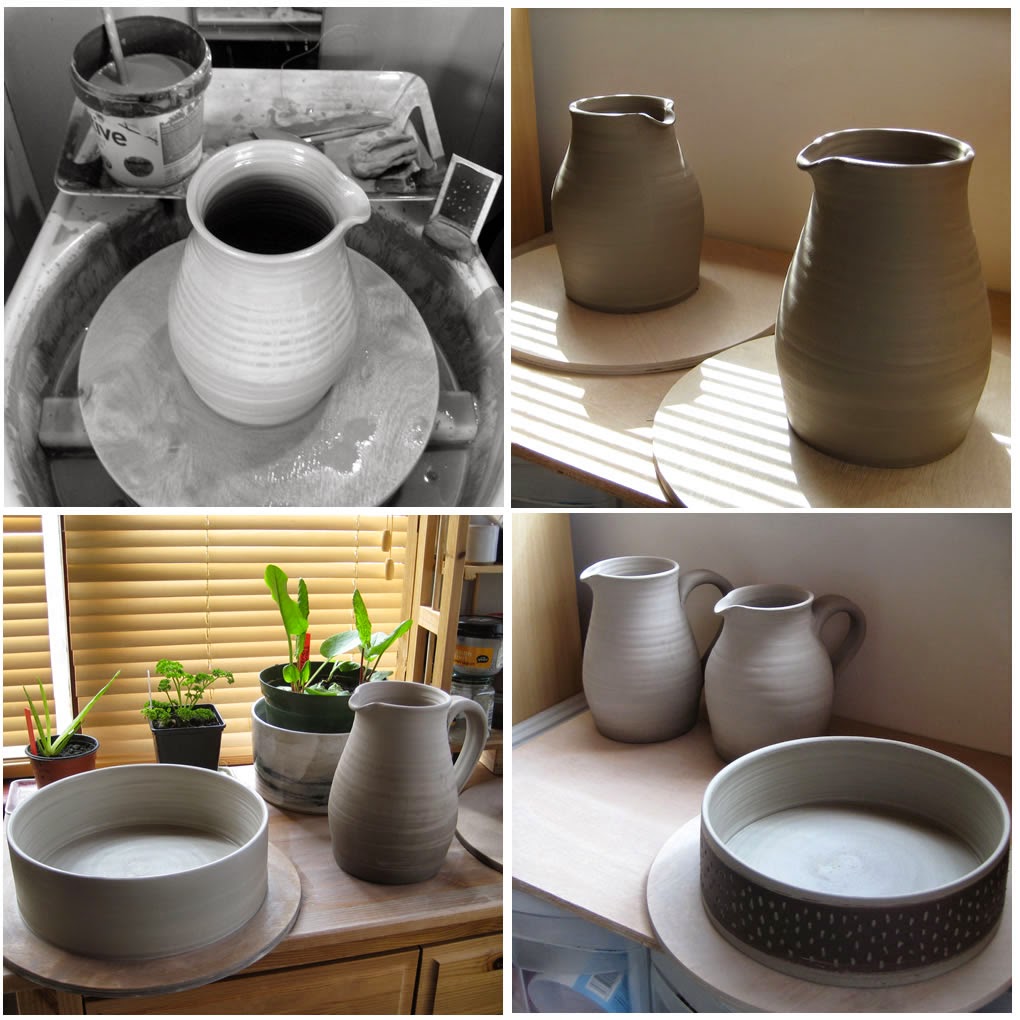
When it comes to taking photos of pots, my style of photography for the past ten years or so has favoured a plain white or minimalist background. I like the simple look of this style so it's always been a 'go to' choice for me. Also magazines prefer to use such images when publishing a feature.
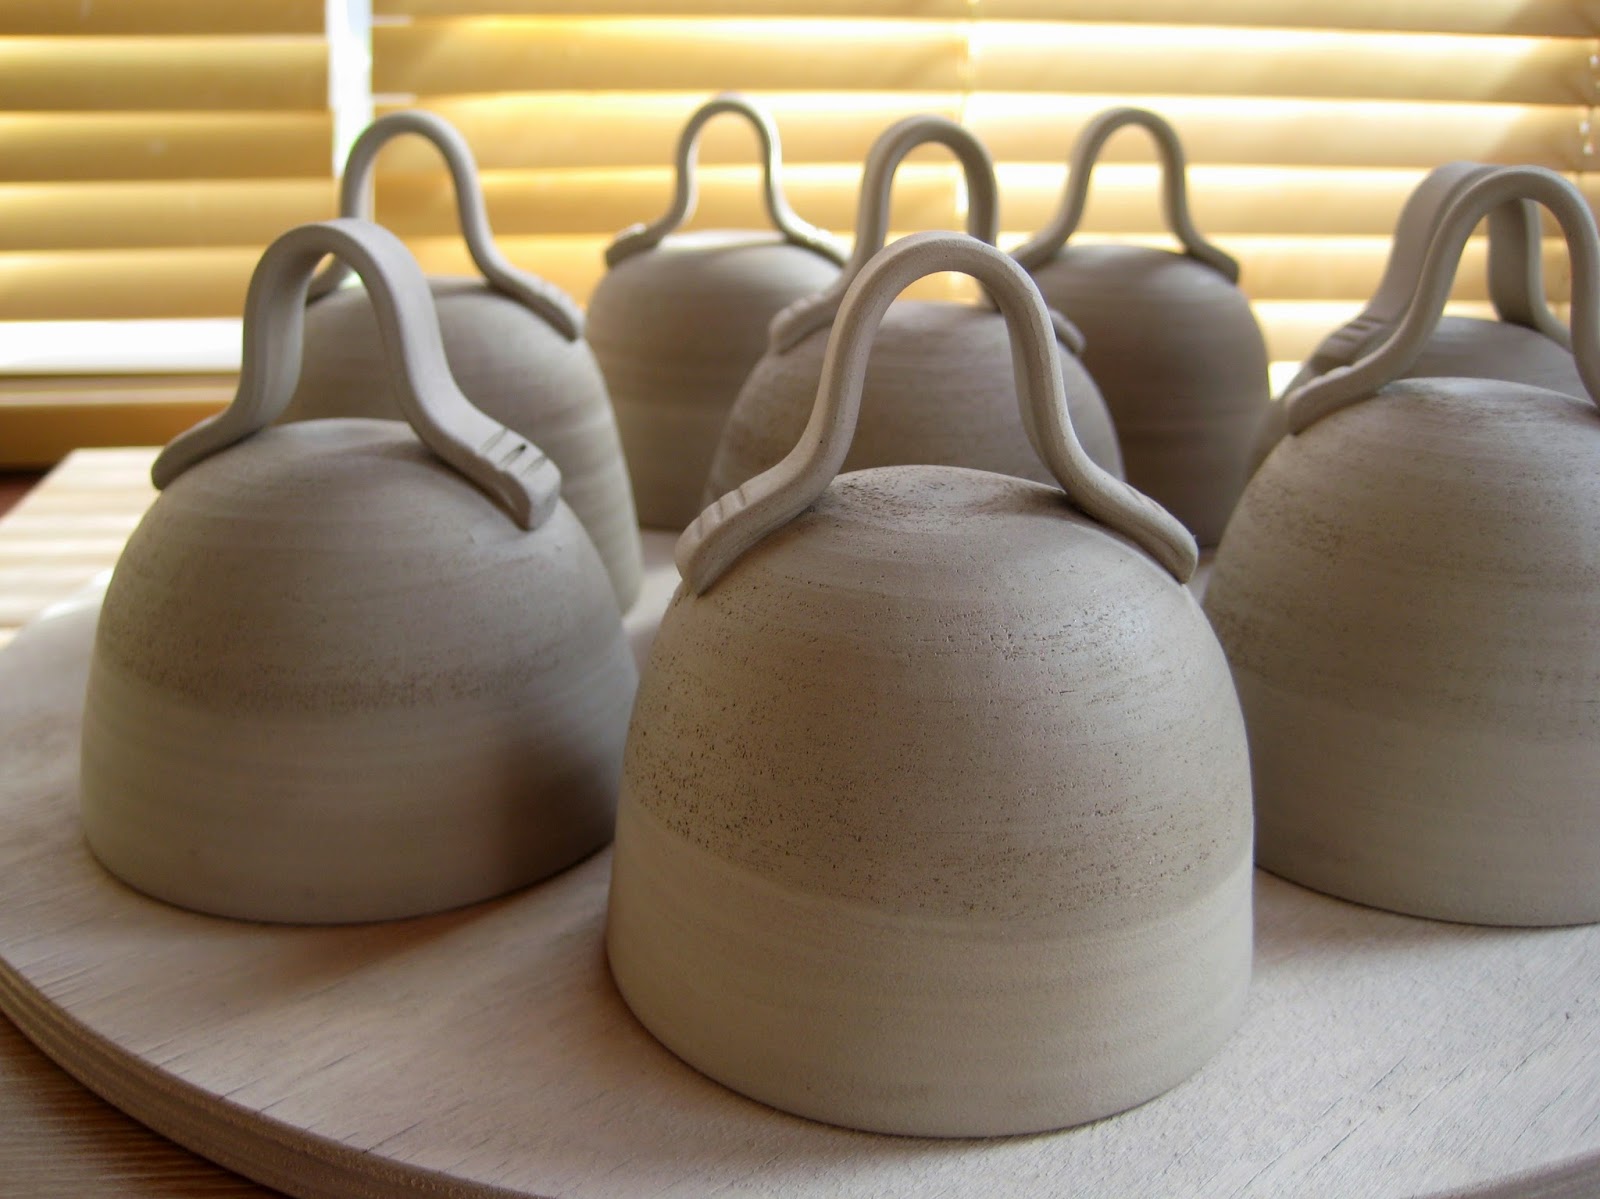
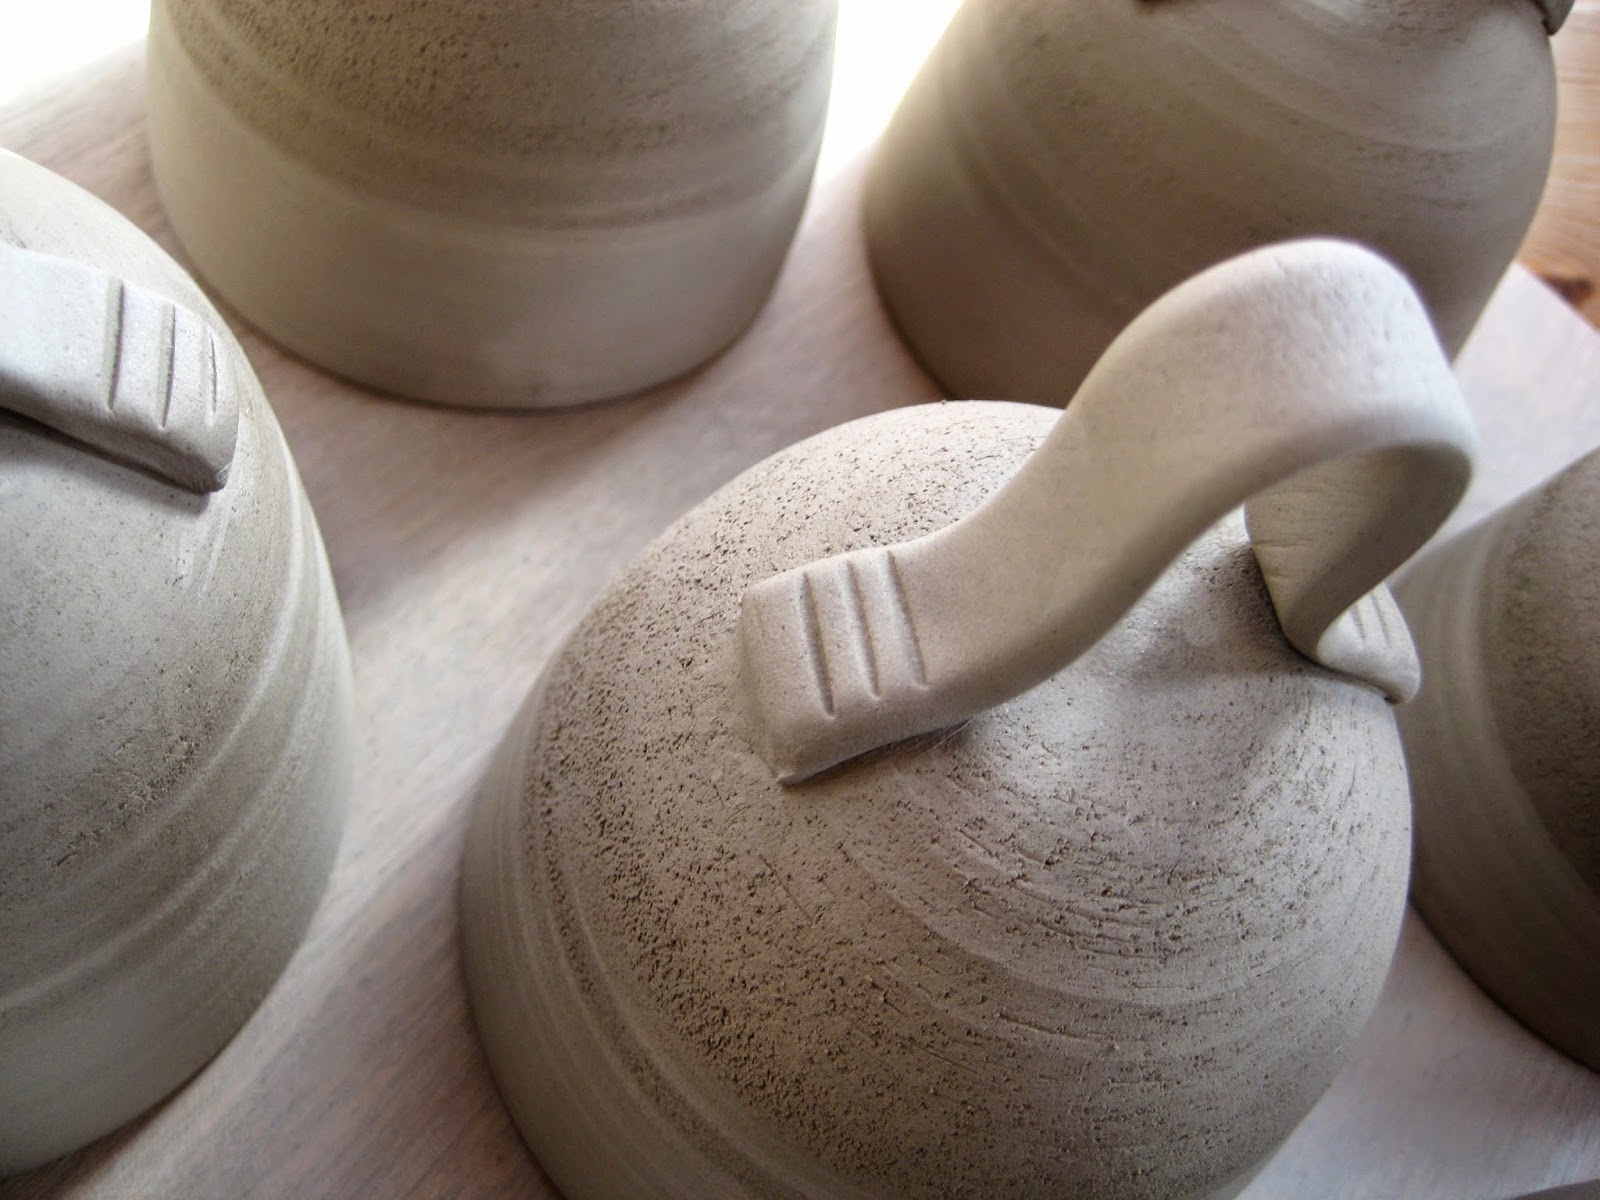
But it does have drawbacks. The main one is that people can't tell at a glance how big or small a pot is. This is a concern when some of my pots might look exactly the same but come in different sizes - like my modern pourer jugs, bird tail bowls and pouring bowls. Also, some of my pots (like the garlic grater bowls for instance) don't translate very well on a plain white background. Some pots just need a bit more visual explanation!
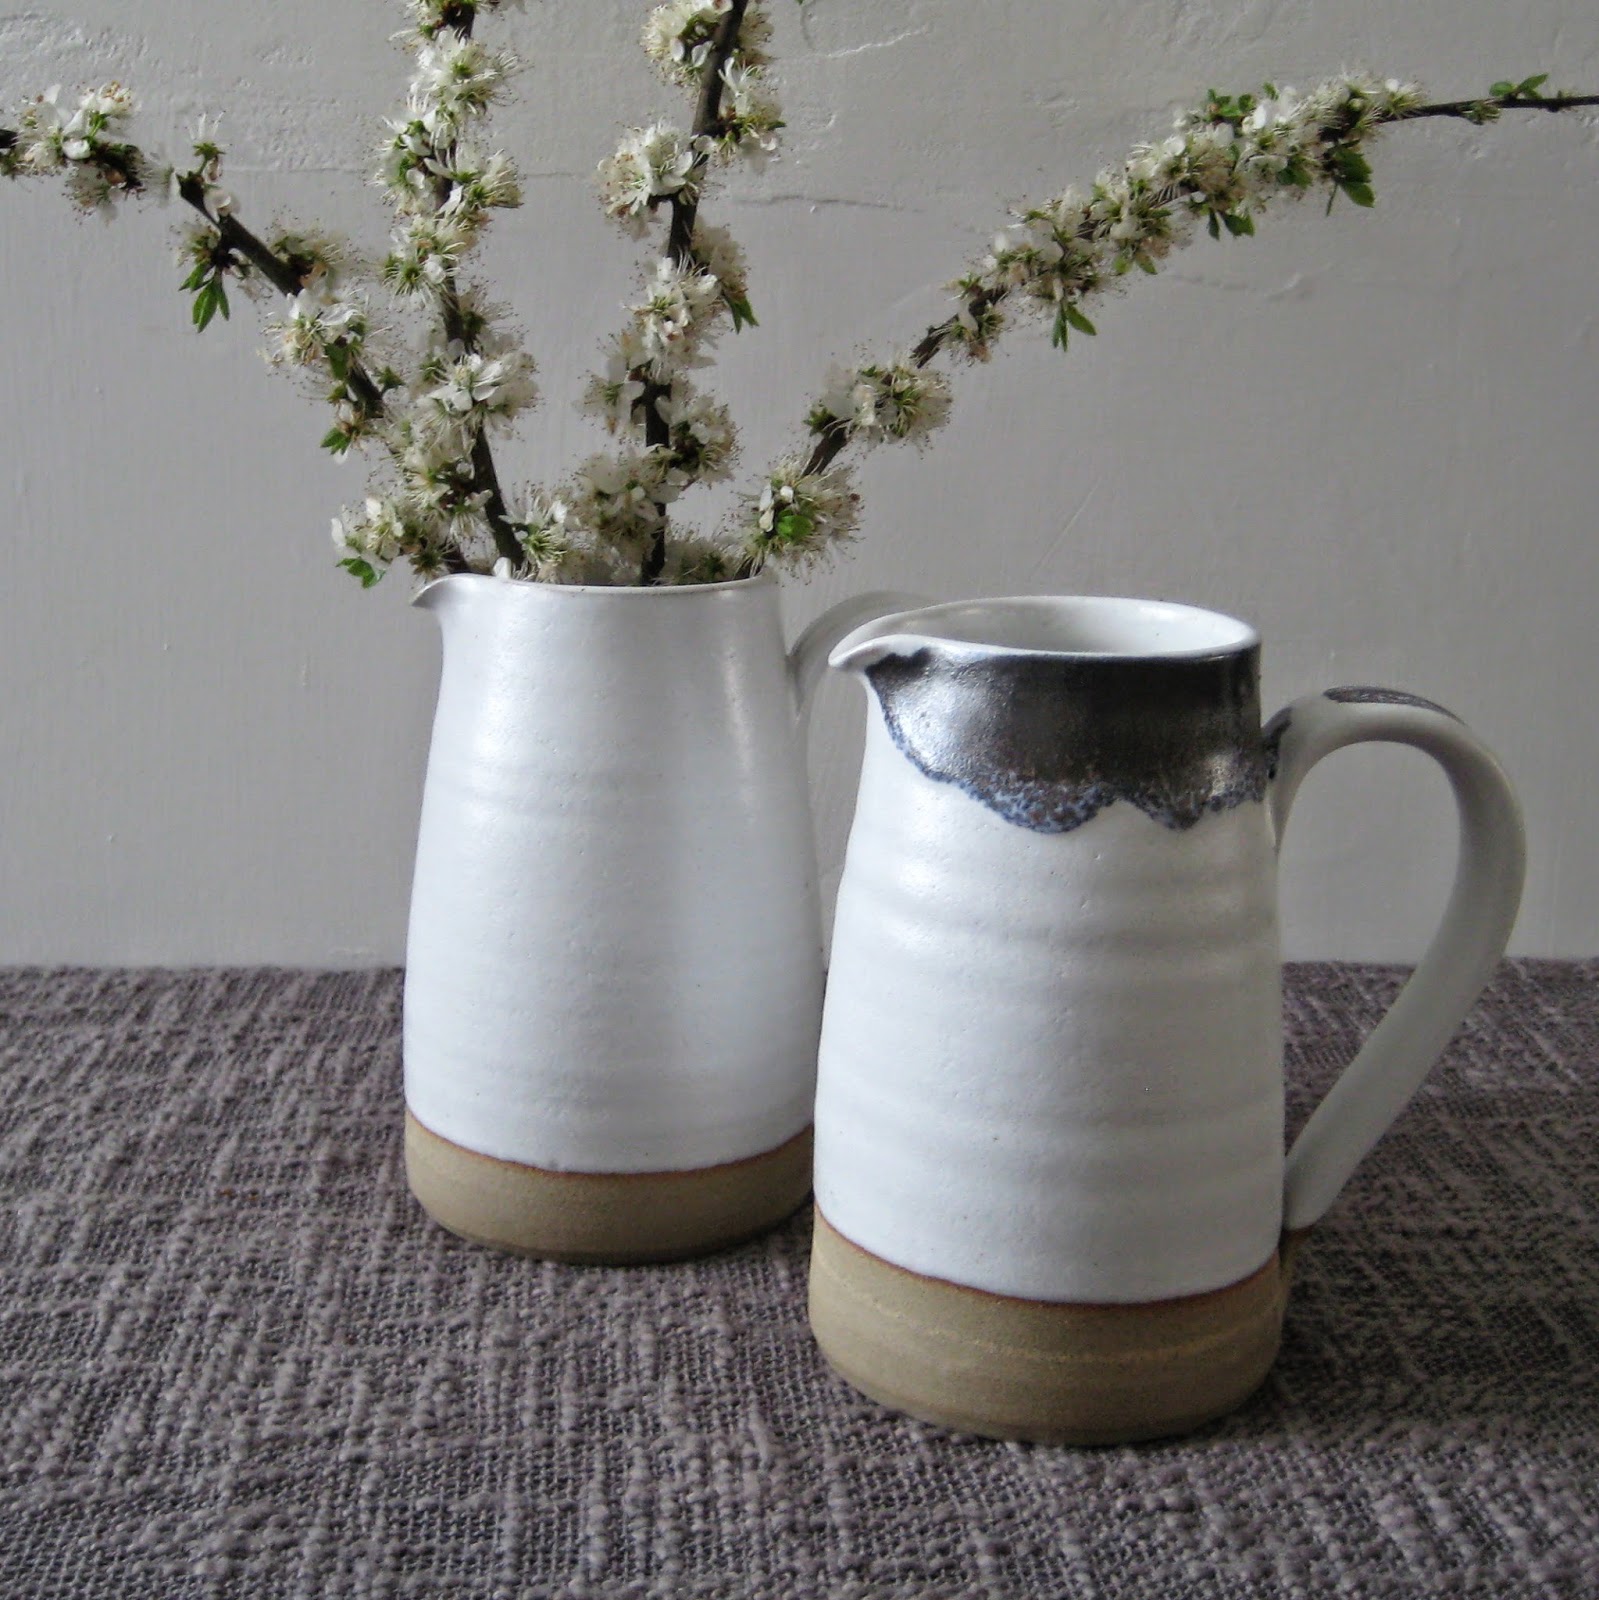
So recently I decided I needed to do a photo shoot using 'styled' settings to give some of my pots a context. The setting I chose was my kitchen at home. Most of my pots are kitchenware or food related in some way, so it seemed an obvious choice.
Luckily there's enough daylight coming in through the kitchen window in the morning to allow me to take photos without the need for any additional lighting. I do have a reflector though (made from aluminium foil wrapped over a piece of cardboard) to help kick back some light into the shadows. I just prop it up where I need it.
And talking of props...sometimes this is the best part of planning a shoot. In this selection of photos I have some new props to play with. They include an old wooden board which I've painted using pale grey emulsion on one side. This board is movable so it can be used both as a surface or a backdrop for pots (as seen in the photo at the top of this post).
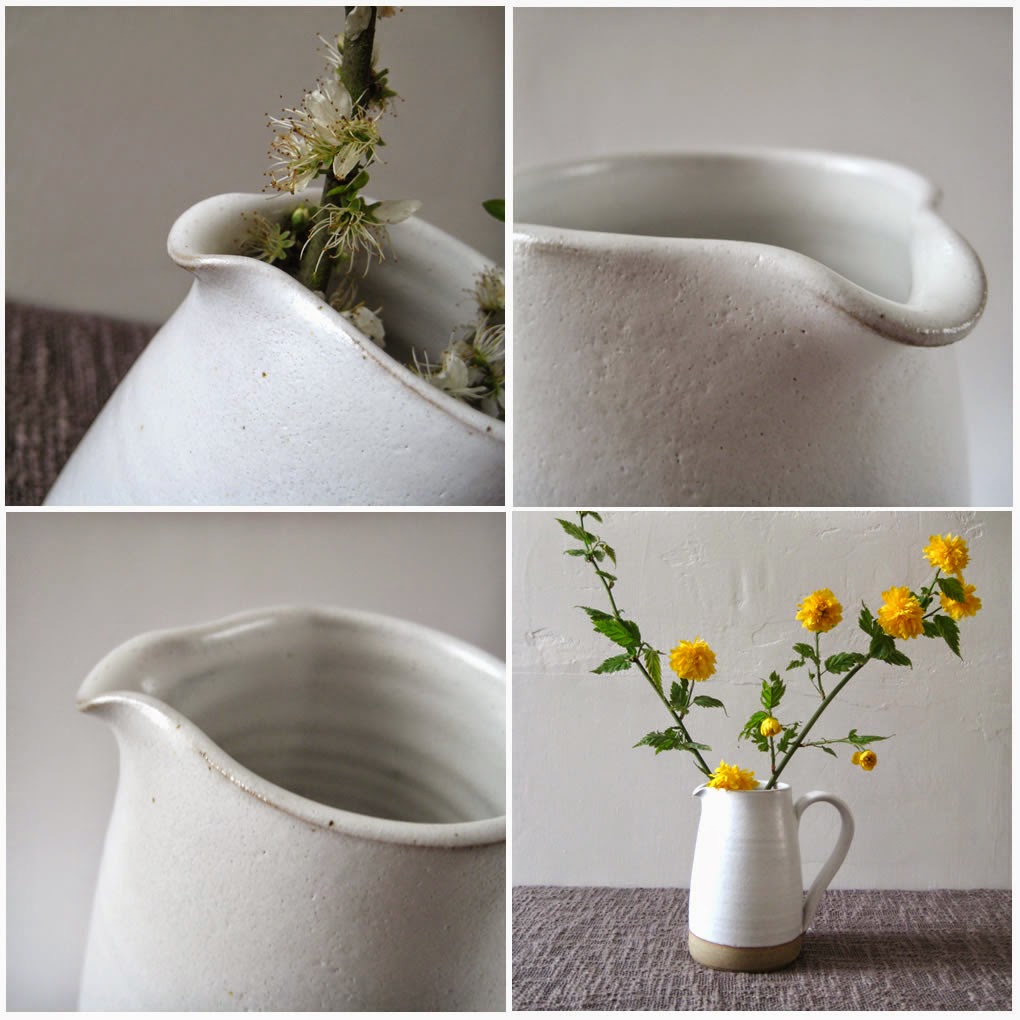
The unpainted wooden surface in the rest of these photos is actually my normal kitchen table and the little chopping board is one I use all the time for preparing food (it's handmade by CottageCoppicing). A jar of local honey, some garlic bulbs (also from the Isle of Wight) and other food props all help to set the scene. I'm hoping these photos will give some idea of scale and show the pots 'in action'.
Anyway, I hope you enjoy the new photos. As always, these pots are available to purchase from my Etsy and Folksy shops. Thanks for reading!
Sunday, 3 May 2015
Spring Things - Making Bells, Jugs and Bowls
Thursday, 5 February 2015
Valentine's Day Ideas
Sunday, 7 September 2014
Coffee Set and Coffee Bowls
Thursday, 17 April 2014
Spring Flowers and Jugs
Friday, 24 January 2014
New Beginnings and New Bud Vases
Friday, 28 June 2013
Pots That Pour: New Pouring Jugs and Bowls
![]() |
New Pourers |
Freshly Thrown Pouring Bowls |
Pouring Bowls, Drizzle Bowls |
Thursday, 14 March 2013
Candleholders Revisited
Saturday, 2 April 2011
Three Trees - Small Landscape Painting
Most of the images I take these days seem to fall into one of three main categories: pots, paintings and ‘research/resource materials’ for making either pots or paintings. And then in between there’s the occasional picture of someone smiling on a beach! With digital cameras it’s so easy to take 200 or 400 images in one go, which means sometimes I lose track of a batch of images and consequently the ‘plans’ I had for them. One such plan was to start adding my paintings to my Folksy shop. Such an obvious plan! And yet somehow it got waylaid…
Until today. At last I’ve finally listed an original painting in my shop. Above and below are some pictures of it (which, yes, I took today…don’t ask why!) and if you click on the pics they should take you to the listing. This painting is called ‘Three Trees’ and depicts a garden landscape. It’s a small acrylic on a ‘deep edge’ canvas and measures 6 x 6 x 1 ½ inches (15cm x 15cm x 4cm). I’m very fond of this painting – it’s quite restful and understated – and I think it’s a lovely little painting to start off with in my shop. And it seems to go quite well with the pots and cards already in there too!
Monday, 14 March 2011
Greetings Cards and Happy Birthday Tags

Today I listed these new greetings cards in my Folksy shop. They’re part of a series of small paintings I’ve designed that feature a little white bird: this one is called Little White Bird - Red Flower (previous post). This painting was made using acrylics on watercolour paper and finished using pastels to give it a soft feel. The white stem on the flower was made by actually scratching through the paint to reveal the white paper underneath.
Just as I was about to upload the image though I realized the photo background was looking decidedly yellow (it was sunny on the day of the shoot!) So I thought I’d have a go at making the background completely white around the object for this image (using Fireworks). I’ve never done this before so it was a bit fiddly to do: and I’m not entirely sure if it feels too white now! I certainly don’t have time to do this on all my photos – I take too many! And I suspect that a picture of a pot edited like this will make it seem like it’s hovering in space and a bit lifeless and flat – so I probably won’t be doing this too often. But it was an interesting exercise…
Anyway, the other thing I wanted to mention was these new Happy Birthday tags I listed in my Folksy shop yesterday. You might remember I talked about my letterpress in a previous post. Well finally I thought I’d show you the results of using my letters in a finished piece. These tags are perfect as little gift tokens or to add to gift-wrapping as a special feature. They measure about 35mm across and are strung on a pale blue ribbon with a drop of about 10cm. I thought they might be something a bit different for people to give – and I think they’re quite sweet really! (Click on pics to go to the listings.)
Sunday, 30 January 2011
Greeting Cards from Original Designs
Anyway, I’ve just listed this card on my Folksy shop today so at the moment only this one design is available. But I hope to add more soon.
Friday, 22 October 2010
Sugar Bowls

A while ago I blogged about adding food to my photos to help illustrate how my functional pots might be used in and around the home. During one of these shoots I used olives in my ‘small white bowls’ to give some colour and interest. I decided to try this again, this time using fruit and sugar. The above photo shows some of the new images I’ve taken which I’ve put together as a composite.
Using sugar in these photos gave me the idea of changing the description of my bowls from ‘small white bowls’ to ‘sugar bowls’. Originally I didn’t like the idea of being so specific in case people thought these bowls were limited to a particular use. But lately I’ve been wondering if it’s more useful (on-line at least) to be less vague: describing something as ‘small’ is a relative term and anyway I also make smaller bowls than these which I call ‘mini’ bowls! So I’ve started listing them as ‘sugar bowls’ in my Folksy shop hoping this means people will have more of an idea of the size of these bowls at a glance. Of course in the description details I also make the point they can be used for any number of things around the kitchen, like dips and olives etc. And at shows and in the real world - where they can be seen and touched - they almost don’t need explaining!
Here’s another photo of the same sized bowl in a different glaze. This is the wood ash glaze made from real wood ash. I’ve also called these ‘sugar bowls’ too in my listings just to be consistent. Here I’ve used limes and plums to illustrate size. These ‘sugar bowls’ measure 10cm by 4cm by the way – and are so useful! Click on the images above and below to link with the listings in my shop.
Thursday, 26 August 2010
Jugs
In the meantime I’ve also been taking lots of photographs of these jugs. As you may have noticed I usually photograph my ceramics against a plain white background. This time I thought I’d also try out some ‘styled’ shots to show these jugs in context and suggest scale. Although I do like the minimalist look of the white glaze against the white background, sometimes it helps to add a bit of colour to illustrate how gorgeous this glaze really is! Anyway, here’s a medley of photos that came out of the ‘shoot’ showing a 'styled' shot and also the wood ash and tenmoku glazes.
And finally I also had a couple of lovely Folksy Friday features last week. Thanks to Sam for featuring my tip jugs on her blog A Simple Melody and also to Kellie for featuring my buttons on her blog It’s The Little Things. Here’s a couple of screenshots too!

Tuesday, 1 June 2010
Napkin Rings and Wooden Printing Blocks
Friday, 5 February 2010
Is it Valentine's?
Thursday, 7 January 2010
Osmosis Launch
Snow has stopped play. The temperature in my studio can only be described as perishing. I’ve given up trying to do any work in there. Instead I’ve spent the past couple of days curled up on the sofa with several blankets doing ‘admin’ and drinking lots of hot tea (occasionally alcohol) in an effort to keep warm.
Just before the snow descended however, my sister and I managed to launch our new project. We’ve been doing local craft fairs and markets together for well over a year now and during those pauses in between talking to customers we’ve been hatching plans to set up a small collaborative craft shop on Folksy to showcase some of our design ideas.
My sister Sue (who also lives on the Isle of Wight) is a textile designer, handknitter and handweaver who mostly works with wool. The inspiration for our project came from the materials we use: we noticed during our craft shows how gorgeous Sue’s handmade woollen textiles looked against my ceramics. It was a logical step therefore to start coming up with some designs that would incorporate both of our craft skills. Our first design project – my rustic mugs and Sue’s handknitted mug warmers - can be seen pictured above, posing in my snow-bound garden. You can also see these listed in our new Folksy shop Osmosis where they can be bought as a unique gift set. We hope to add more designs soon.
Other news. Just wanted to mention that a few days ago my white buttons were featured on the lovely gooseberrymoon blog as a part of a snow-inspired post. So thank you again gooseberrymoon!
Well that’s it for today from the Isle of Wight – all puns intended. Officially ‘snowed in’ and steadily running out of milk...
Sunday, 3 January 2010
New Year Buttons
Anyway, I’m sure I’ll soon be moaning about things drying out too quickly. In the meantime however I just wanted to say Happy New Year to anyone reading this; hope you’re keeping warm!
Tuesday, 1 December 2009
Artists' Resources
Today I switched my Public Liability cover to a different insurance company. In the days before the Internet this would have been a laborious, painful experience - but luckily all that was required of me was to tap in a few details online and I was covered instantaneously. But it gets better. This particular Public Liability cover comes included in the price of a subscription to an arts magazine that provides online resources and support for professional Artists and Makers.
The name of the online resource is Artists’ Newsletter or ‘a-n’ for short. In fact, they’re a bit keen on initials and acronyms as shorthands for all their different services which can be a bit challenging at first (especially when having to concentrate on the details of insurance cover). But once you become familiar with their branding style you can see what great deals they have to offer. For instance, their cheapest option is an ‘online only’ annual subscription which includes access to all the online resources AND basic Public and Product Liability cover (up to £5 million) for just £28. This undercuts most quotes I’ve had from other insurers. But they also offer options of extending the insurance cover either by choosing ‘off-the-peg’ insurance packages or options that can be tailor-made to your individual needs as an Artist/Maker: something that other insurers don’t always offer.
Anyway, the point is, check them out by clicking here for their home page and selecting ‘AIR’ if you want to read details of their insurance cover.
Other news this week: I was very excited to discover yesterday that I’d been selected as a featured seller on Folksy! Over-excited is probably more apt a description as revealed by the amount of screenshots now sitting on my desktop. It was a lovely surprise and thanks to the Folksy admin for choosing me. Thanks also to Alison for featuring my stars on her blog last week (which you can see here) and to those lovely people who tweeted! Below is a screenshot of the Folksy Blog which you can also see for real here.
Saturday, 21 November 2009
Festive Finishing Touches
Finding the right details to finish off your creations is not always easy. I’ve strung the brown-fleck stars on a festive red ribbon with a simple bow which I think sets them off beautifully and has a rich warm quality. I wanted a more delicate, sparkly type of thread for the smaller white stars but finding the right one proved difficult. I made several disappointing trips to my local sewing shops in search of just the right texture and quality – but found nothing that fitted the bill. Then I suddenly remembered making cords out of strands of wool when I was a kid and realized I should make my own hand-twisted thread.
And here’s how I made it: